Configuring Team Profiles
5 minute read
A team profile defines a set of Connector users who are allowed to send content out for translation from the specified source languages, to the specified target languages, using the specified translation providers. If email notifications are configured, a team profile also determines the email-notification settings for the team about team activities.
Users who are member of multiple teams are prompted to select a team profile when sending out content for translation.
To configure a team profile, you complete the following basic steps:
- You create a new role that you will link to the team profile.
- You assign users to the role that you created.
- You create a team profile, and configure it.
To configure a team profile:
- In the Sitecore Content Editor ribbon, click the Security tab, and then in the Tools section, click User Manager.

The User Manager window opens.
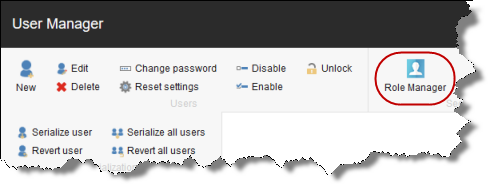
- In the ribbon, click Role Manager.
The Role Manager window opens.
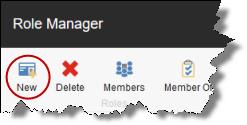
- In the ribbon, click New to create a new role.
The New Role dialog box opens.

-
Create your role:
- In the Role name field, enter a name for your role, for example Team A.
- In the Domain dropdown list, select lionbridgeteams.
- Click OK.
The Role Manager window reopens, and the role you just created is displayed in the list.
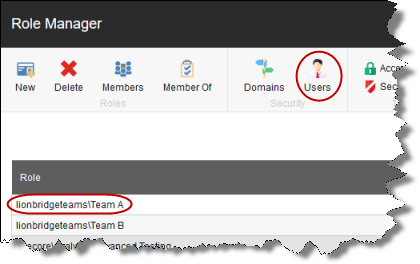
- In the ribbon, click Users to open the User Manager window.

- Assign a user to a role:
a. Click a user to select it.
b. In the ribbon, click Edit.
The Edit User dialog box opens for that user.
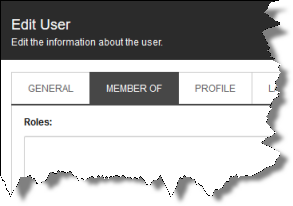
c. Click the Member Of tab.
d. Click the Edit button in the bottom-left corner.
The Edit User Roles dialog box opens.

e. Click the role you just created to select it.
f. Click Add, and then click OK to close the Edit User Roles dialog box.
The Edit User dialog box now displays the role you assigned.

g. Click OK to close the Edit User dialog box.
h. Repeat the previous sub-steps for each user to assign to the role.
i. When you are done, close the User Manager window.
-
In the Content Editor, in the content tree, navigate to /sitecore/System/Settings/Lionbridge Settings/Team Profiles/.
-
Click the Team Profiles item to select it and to open it in the content area.
-
Click the Custom Editor tab.
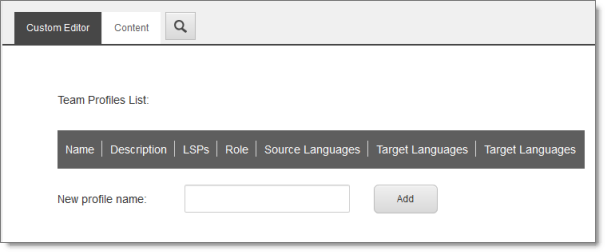
-
In the New profile name field, enter your name for the team profile and click Add.
-
In the content tree, the new team profile is added under /sitecore/system/Settings/Lionbridge Settings/Team Profiles/.
Tip: In the content tree , close the Lionbridge Settings folder and reopen it to display the team profile you just created under /Lionbridge Settings/Team Profiles/.
- Click the new team profile item to select it and to open it in the content area.

- Click the Custom Editor tab.
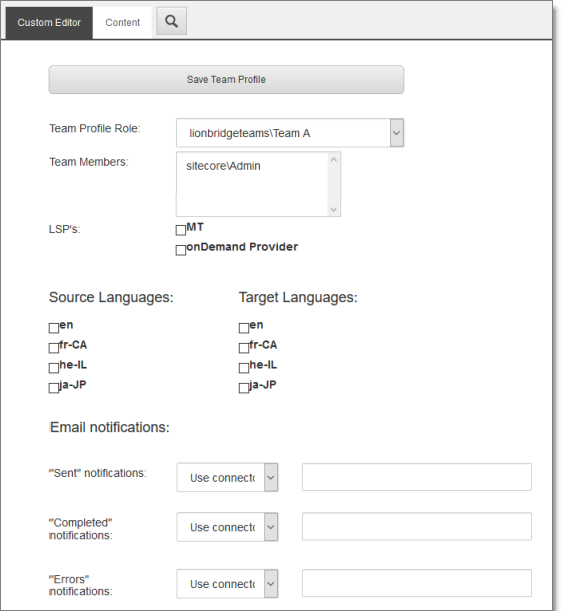
- Enter the following settings for your team profile:
| Setting | Description |
|---|---|
| Team Profile Role | In the dropdown list, select the role you created earlier. Selecting a role populates the Team Members list, described below, with the users assigned to this role. |
| Team Members | Read only. This list is populated with the users assigned to the role selected in Team Profile Role, above. |
| LSPs | Select the translation providers (LSPs) to assign to the team profile. All the configured translation providers are available for selection. |
| Source Languages | Select the check boxes of the source languages in which team members can send out content for translation. The list of available languages is based on the configured languages. For details, see Configuring the Sitecore Languages in the Sitecore Content Editor. |
| Target Languages | Select the check boxes of the target languages for which team members can send out content for translation. The list of available languages is based on the configured languages. For details, see Configuring the Sitecore Languages in the Sitecore Content Editor. |
| Email Notifications | For each type of email notification, select one of the following settings:
You can configure the following types of email notifications for the team profile:
|
- When you are done, scroll up to the top of this page, and then click Save Team Profile.
A message box confirms that the team profile was successfully saved.