Creating a Job
4 minute read
To send content to translation, you create a job.
A job is a bundle of content to send to Lionbridge for translation. A job contains content from one or more records.
To create a new job:
- Navigate to Lionbridge Connector > Jobs > Create New.
The Job - New record dialog box opens.
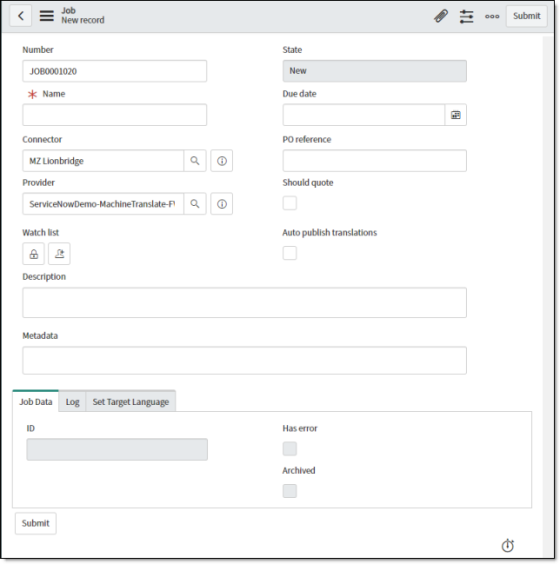
- Enter the following information about your translation job:
| Field | Description |
|---|---|
| Number | The job number. This is a unique identifier for your job, starting with JOB, and followed by a seven-digit number. By default, the job number is one number higher than the last job created. For example, if the number of the last created job was JOB0001029, the default number of the new job is JOB0001030. You can modify this. |
| Name | A descriptive name for the job. |
| Connector | The Connector configuration, which includes the endpoint and the Clay Tablet credentials. There may be multiple Connector configurations, for example, for different accounts or departments. For more information, refer to the Lionbridge Connector for ServiceNow Installation and Configuration Guide. By default, the most recently used Connector configuration populates this field. You can use the Lookup using list icon Tip: Click the Preview this record icon |
| Provider | The translation provider for this job. * Click the **Lookup using list** icon There may be multiple translation providers, for example, for different kinds of content. For example, one translation provider may translate legal content, while another translation provider may translate medical content. |
| Watch list | The list of users who will receive notifications about the state of this translation job. * To unlock the watch list so that you can edit the participants, click the **Unlock Watch list** icon * To add yourself to the watch list, click the **Add me** icon For information about configuring the default watch list, refer to the Lionbridge Connector for ServiceNow Installation and Configuration Guide. |
| Description | The description of the job. |
| Metadata | Additional information to send to the translation provider. |
| State | Read-only. The translation state of the job. For a list and description of translation states, see Translation States. |
| Due date | The requested translation deadline. This is the date when you expect the translated content to return. To select a date, either: * Type the delivery date in the field in YYYY-MM-DD format. * Click the **Select Date** icon This information is sent to the translation provider as metadata of the translation package. |
| PO reference | The purchase order number to reference for payment of this translation job. |
| Should quote | Select this check box to inform the translation provider that you want to receive a quote before the translation process starts. |
| Auto publish translations | Determines whether the Connector will automatically publish the translated content in this job when it is complete. Tip: Select this option if it is not necessary to review the translation before publishing it. Notes: This feature requires the Lionbridge Connector Global Components update set. For more information, refer to the Lionbridge Connector for ServiceNow Installation and Configuration Guide. If you do not select this check box, a ServiceNow administrator must either publish the completed translations and/or promote them to production via an update set. |
- Click the Set Target Language tab.
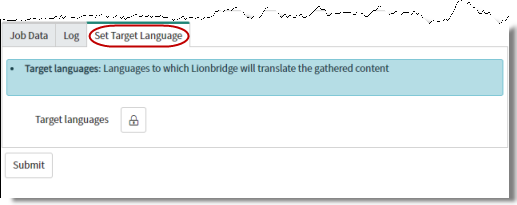
- Click the Unlock Target Languages icon
 to expand the tab, so that you can select the target languages for this job.

-
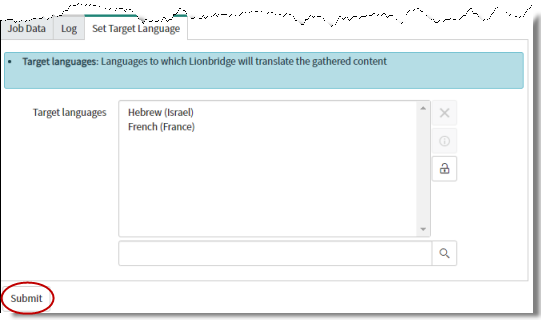
Click the Lookup Using List icon
 to open a dialog box where you can search for and select a target language. Repeat this step for each target language to select.
 -
In the bottom-left corner, click Submit.
Next, you add content to the job. You locate a record to translate, and then add it to the job. For detailed instructions, see Adding Content to a Job.