Configuring Email Settings
2 minute read
Starting from the Connector version 2.4.3, support for sending e-mail notifications is added. With this, an email notification is sent whenever a file passes through the translation events such as Job Submission, Job Received, and Job Errors. To receive these email notifications, users must configure the email notification settings.
To configure the email notifications in the application:
-
Go to Administration > Connector Configuration > Content Mapping > System Configuration > Email Setting.
-
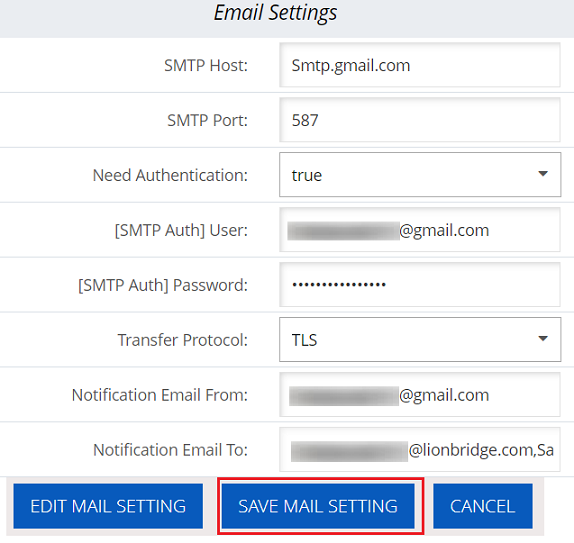
Configure the following SMTP settings for the email address:
-
SMTP Host
-
SMTP Port
-
Need Authentication
-
[SMTP Auth] User
-
[SMTP Auth] Password
-
Transfer Protocol
-
Notification Email From
-
Notification Email To
The Connector sends notifications to the email addresses specified in the Notification Email To field.
-
-
Click EDIT MAIL SETTING.
-
Click SAVE MAIL SETTING.
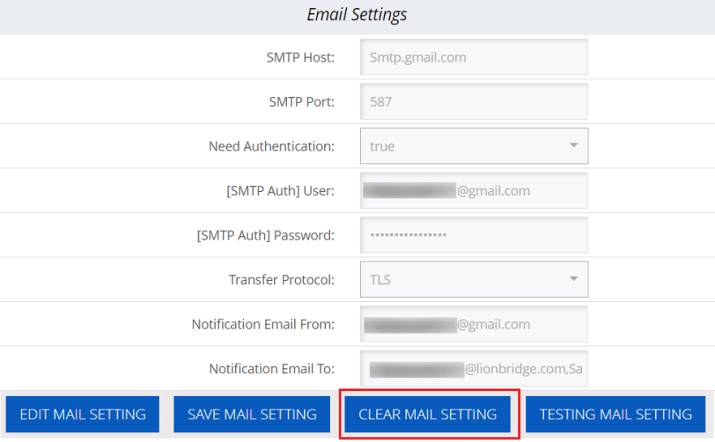
After saving email settings, two new buttons (CLEAR EMAIL SETTING, TESTING MAIL SETTING) appear at the bottom of the Email Settings screen.
You can also configure a new email setting by clicking CLEAR EMAIL SETTING, which removes existing settings.
Testing an Email Setting
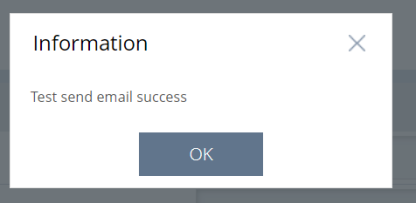
After the email setting is configured, test it to verify the configuration is successful and you are receiving a test email notification.
-
To test an email setting, click TESTING MAIL SETTING in the Email Setting screen. A dialogue box appears with a success message as follows:
-
A test email notification will be sent to the email address specified in Notification Email To field. The following is an test email notification:
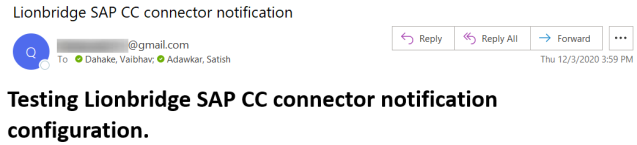

Similarly, the email notifications are sent when a translation is submitted, received, and has errors.