Configuring Open Commerce API Settings
less than a minute
You must configure Open Commerce API (OCAPI) settings.
To configure Open Commerce API settings:
- Navigate to Administration > Site Development > Open Commerce API Settings.
The Open Commerce API Settings page opens.
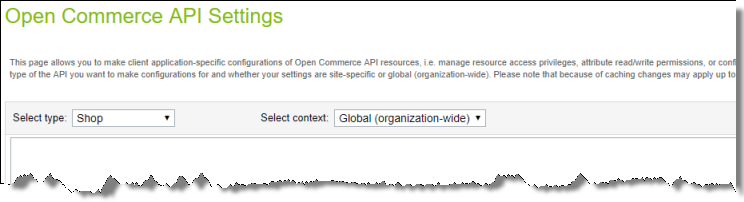
- In the Select type dropdown list, select Data.
The page updates.
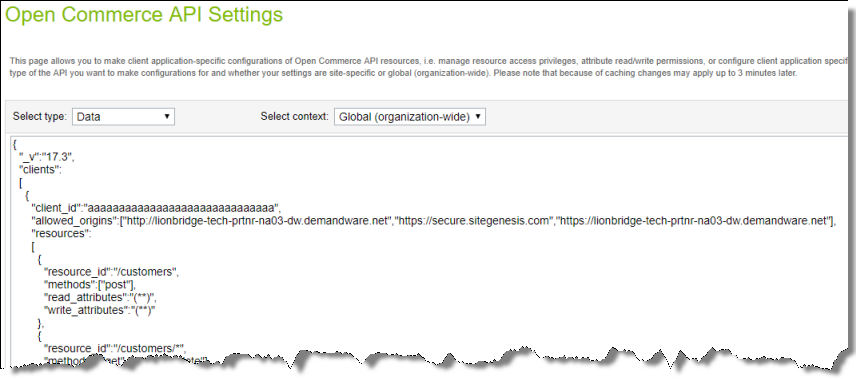
- Add the resource for jobs executions.
Note: For testing purpose, you can use the demo Client ID (aaaaaaaaaaaaaaaaaaaaaaaaaaaaaa), but in a production environment, obtain a Client ID from your Commerce Cloud Account Manager.
Your configuration should be similar to the following:

-
In the bottom-right corner, click Apply.
-
Navigate to Administration > Operations > Services to configure the OCAPI credentials.
-
Click the Credentials tab.

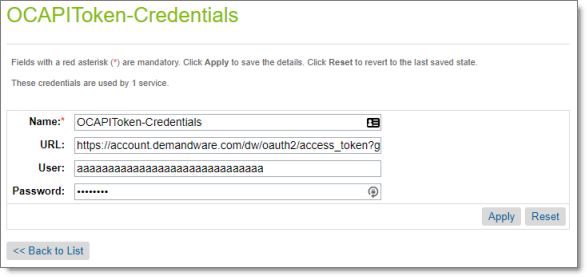
- In the Name column, click the link for the OCAPIToken service.
The OCAPIToken-Credentials page opens.
-
Enter the credentials for the OCAPIData service. a. In the User field, enter the OCAPI client ID. b. In the Password field, enter the OCAPI client password. c. Click Apply.
-
In the Name column, click the link for the OCAPIData service.
The OCAPIData-Credentials page opens.
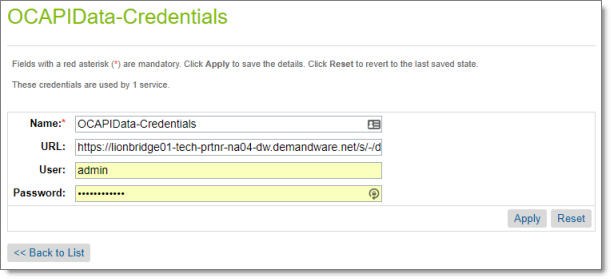
- In the URL field, enter your environment path in the following format: https://hostname/s/-/dw/data/version, where:
- hostname is your base URL.
- version is the OCAPI Data version set up in the Open Commerce API Settings page described in steps 2 and 3, above.
For example: https://myinstance.demandware.net/s/-/dw/data/v17_3.
- Click Apply.