Importing Job Schedules
2 minute read
You import job schedules that are necessary for exporting and importing the catalog XML files.
- In Salesforce Commerce Cloud, navigate to Administration > Operations > Import & Export.
The Import & Export page opens.
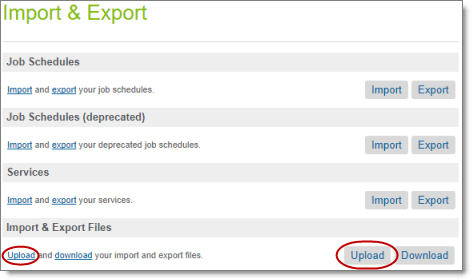
- Click Upload.
The Upload Import Files page opens.

- Click Choose File and navigate to the jobs.xml file in the Cartridge installation package you unzipped earlier. Select this file and click Open in your browser dialog box.
The Upload Import Files page reopens.
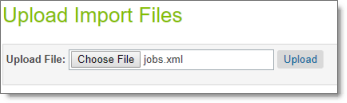
- Click Upload.
The jobs.xml file is now displayed in the Manage Import Files section of this page.

- Click Back to reopen the Import & Export page.
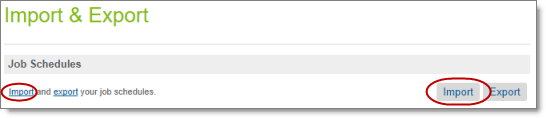
- In the Job Schedules section, click Import.
The Job Schedules Import - Select File page opens.
-
Select the jobs.xml file, and click Next.
-
Wait while the file is validated. After the file is validated, in the Job Schedules Import - Select File page, click Next.
-
In the Job Schedules Import - Start Import page, click Import.
-
After importing the file, navigate to Administration > Operations > Job Schedules.
The Job Schedules page opens.
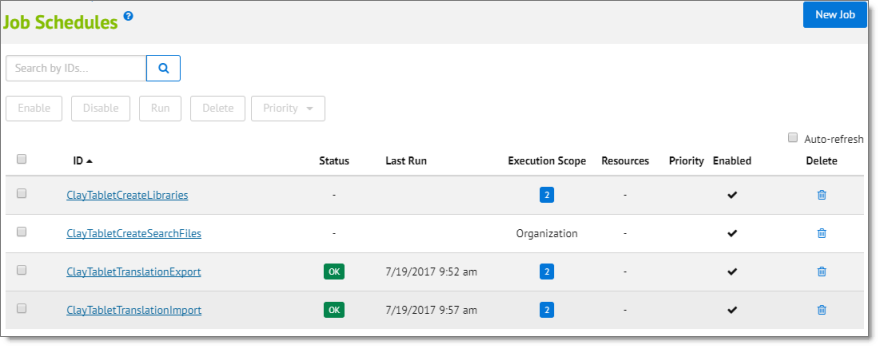
- Click the links for the ClayTabletCreateLibraries, ClayTabletTranslationExport, and ClayTabletTranslationImport jobs, and change the Scope from Organization to Site. Select the same sites for which you activated the storefront cartridge in the Activate the BM Cartridge step in Installing the Lionbridge Cartridge. a Click the Step Configurator tab. b Click the Scope link to open the Site Assignments dialog box. c Select the check boxes for the relevant sites, and click Assign.

For details, refer to the Salesforce Commerce Cloud Infocenter, at https://www.salesforce.com/products/commerce-cloud/overview/ (login required).
Note: Do not change the Organization scope of the ClayTabletCreateSearchFiles job.