2 minute read
If the Receive translated jobs automatically feature was not configured, as described in Adding Lionbridge as a Provider in Drupal TMGMT, then after your translated content returns to the Connector, you must import it into Drupal TMGMT.
To import your translated content:
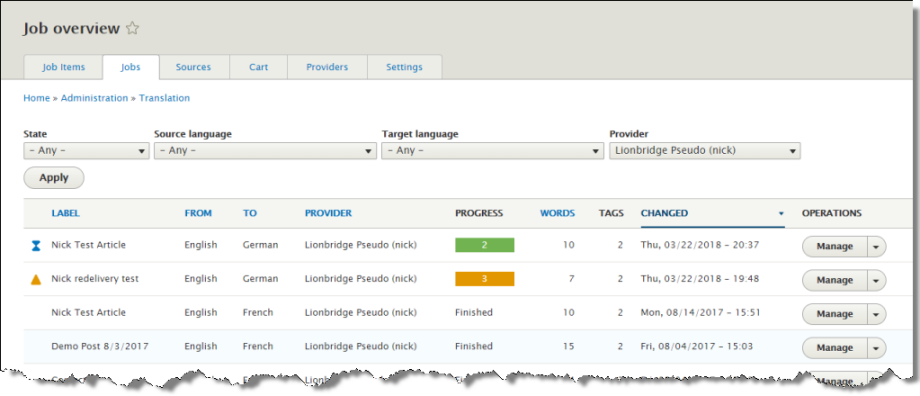
- Select Translation > Jobs from the menu.
The Job overview page (Jobs tab) opens.

Note: There is a separate job for each target language.
- Locate the finished job that you want to import to Drupal TMGMT. In the Progress column, this job displays Finished.
Tip: To view only finished jobs, in the State column in the filter at the top of the list, select Finished from the dropdown list, and then click Apply.
- In the row of the job to import, in Operations column, click Manage.
The page for that job opens.
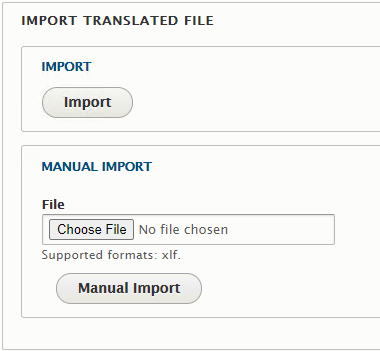
- In the Import Translated File section, do one of the following:

- In the Import Automatically | Update TM sub-section, click Auto-Import.
- In the Manual Import sub-section, click Choose File, then browse to the file to import to Drupal TMGMT, and then click Manual Import.
A message box at the top of the page states that the job was imported, and the page updates.
- Do one of the following:
-
If the Auto accept finished translations check box is selected for the provider, the imported job is ready for you to view. For detailed instructions, see Viewing One Translated Job.
-
If the Auto accept finished translations check box is cleared for the provider, the imported job is ready for you to review. In this scenario, you must review the translations and then accept or reject them. In the Job Items section, in the Operations column, click Review, and then in the page that opens, review the translated content, and when you are done, click either Save or Save as completed. For detailed instructions, see Reviewing One Translated Job.